


Learn to colour correct like a pro with our free course DaVinci Resolve Colour Grading for Beginners. You’ll learn how to use each important tool in Resolve, including how to set up your project using scene cut detection, how to get clean skin tones with noise reduction and how to create cinematic looks.
In this lesson, I’ll show you how to make a LUT from your colour grading, and how to use that in other editing suites.
How to Make a Custom LUT from Your Colour Grade in Resolve
At this point in our course, you’ve learned how to colour grade your footage, but there’s one more thing you can do: make a custom LUT from your grade. Let’s take a look at how.
Grab a Still
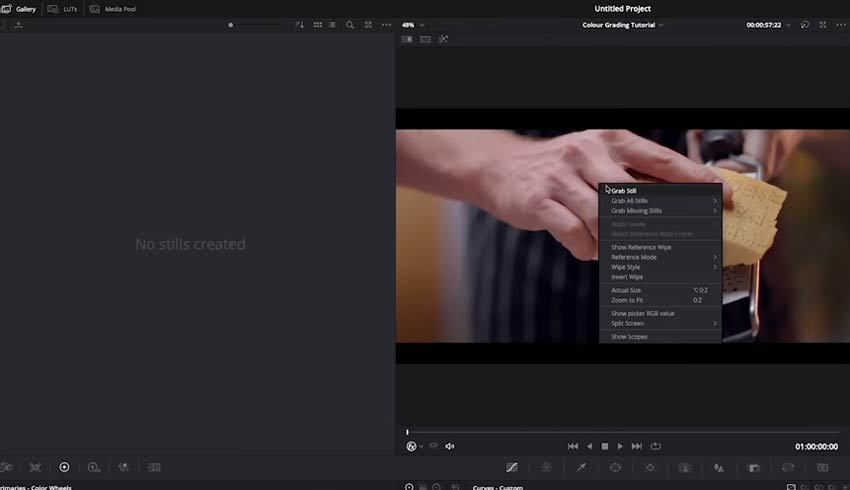


In a previous lesson, I went to the Gallery, and then right-clicked on the image to Grab Still. What that’s basically done, is made a LUT internally in DaVinci Resolve, which you can then add to other things.
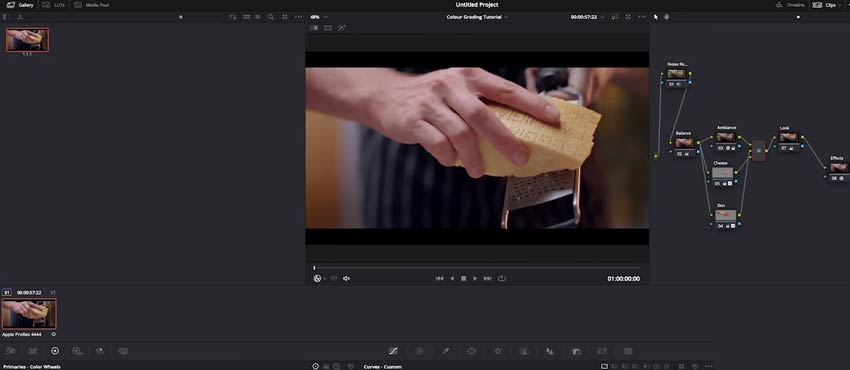


Click Clips in the top-right and you’ll see a snapshot of the footage appear in your timeline. You can see the thumbnail at the bottom left of the screen.
Generate a LUT
Right-click on your clip.


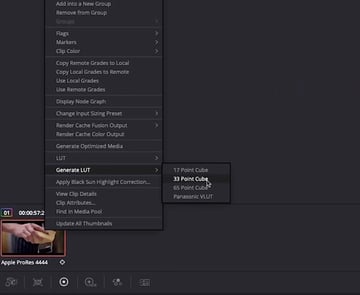
You’ll see the option Generate LUT and from those, you want to choose 33 Point Cube.
Name and Save Your LUT

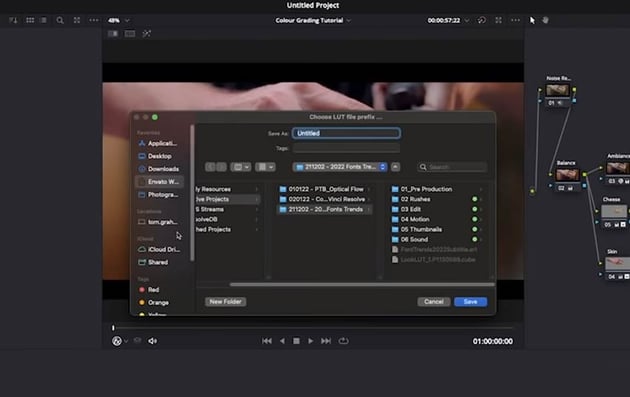
You’ll then get some further options where you can name your LUT and choose where to save it.
What Now?
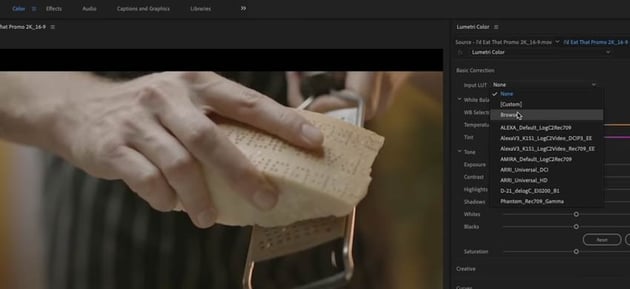
You might be wondering what this has achieved. Well, you can now use your colour grade, via a LUT, in any other editing suite. Here’s my example in Premiere Pro.
With some footage loaded in Premiere, I can head to the Color tab, then to Input LUT and navigate to the file we just saved.


And once that’s applied…


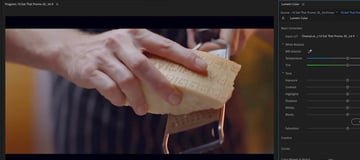
The footage looks just the same as it did in Resolve. Easy! You can then tweak it in Lumetri if you want to. There are so many tools that you can use in a round trip between Premiere Pro and DaVinci Resolve, or even just in Resolve itself. It’s a fantastic program that I really urge you to check out.
If you’ve followed this course from start to finish you’ve hopefully picked up some good, solid tips on how to colour grade your footage in DaVinci Resolve. Thanks for watching.
More DaVinci Resolve Tutorials and Templates
-
 DaVinci Resolve Beginner Tutorial | Free Video Editing
-
How to Make a Promotional Video in DaVinci Resolve
-

 How to Reduce Sibilance and Hiss in Audio With DaVinci Resolve—De-Essing in Fairlight
-
5 Relaxing Video Templates for DaVinci Resolve


About the Authors
Tom Graham created the video course that includes this lesson. Tom is a multi-skilled content creator with a background in commercial filmmaking. Marie Gardiner wrote the text version of this lesson.