


Learn to colour correct like a pro with our free course DaVinci Resolve Colour Grading for Beginners. You’ll learn how to use each important tool in Resolve, including how to set up your project using scene cut detection, how to get clean skin tones with noise reduction and how to create cinematic looks.
In this lesson, we’ll recap on what we’ve learned in the course and you’ll see the full effect of our grade.
The Final Product: How to Finish a Grading Project in Resolve
At this point in our course, you’ve learned how to do a colour correction and a colour grade. Let’s have a quick recap of what we’ve looked at.
Original


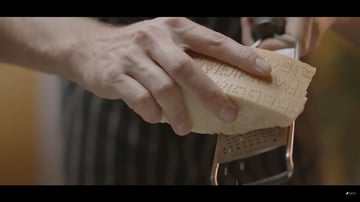
This was our original footage, quite flat and washed out as you’d expect – shooting this way means we retain a lot more information in the video and can start with a clean slate.
Correction and Balance
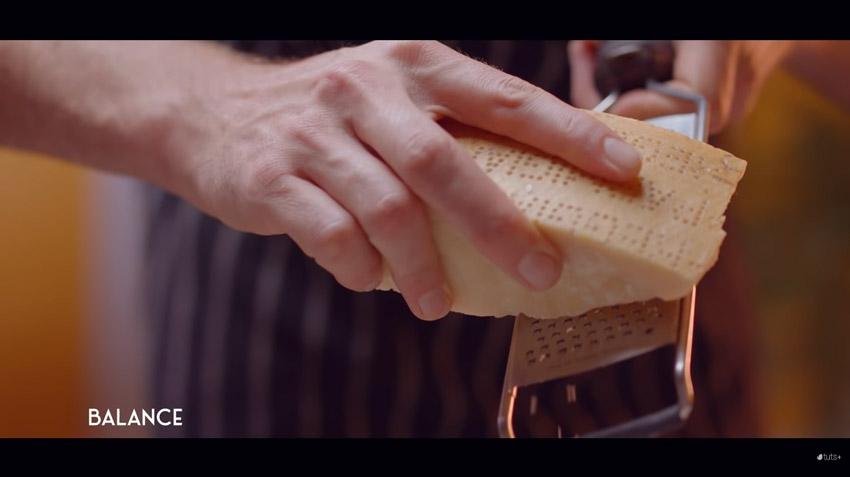


We started with a nice colour correction to bring in some of those rich, warm colours.
Skin Tones
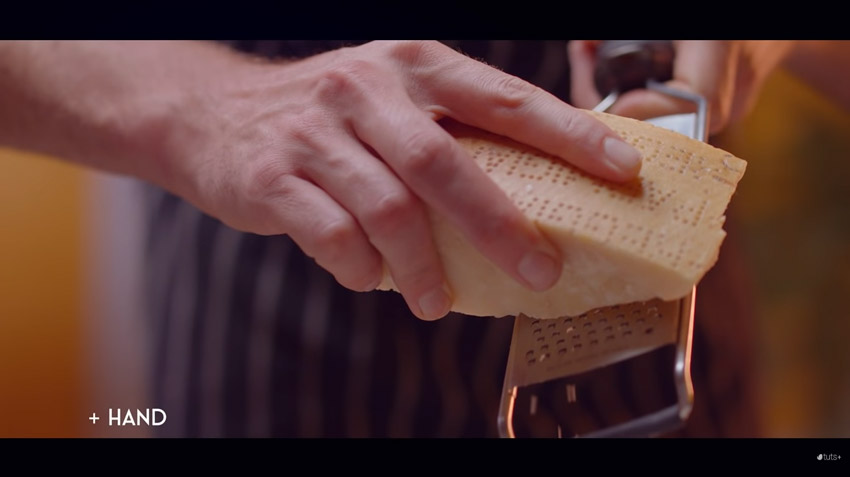


Next, we fixed the skin tones of the hand and arm.
Cheese
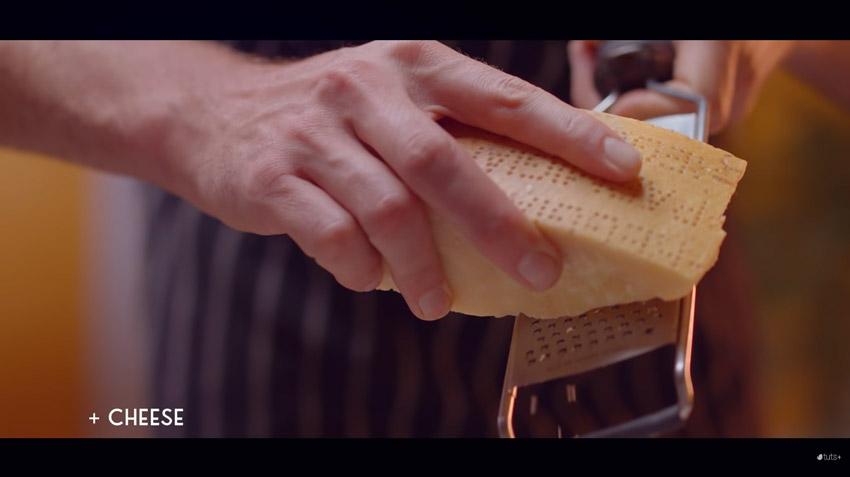

The colour of the cheese needed a tweak too!
Ambience

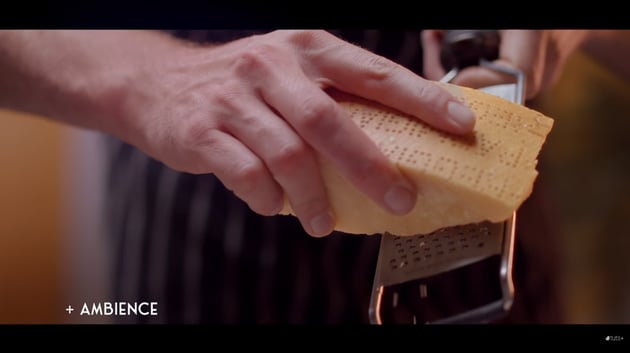

We lowered the ambience, this will help our subject stand out more.
Look


We pushed everything a little towards cyan to finish up the colour look.
Film Grain and Noise Reduction
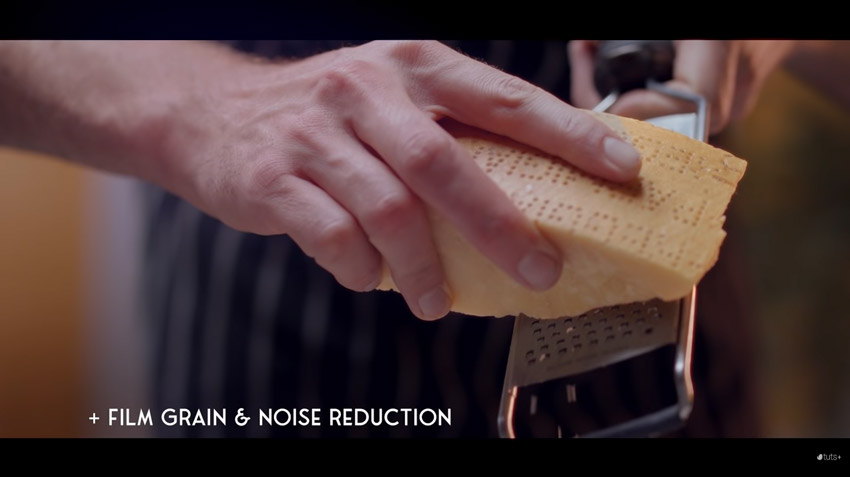


Finally, we added some film grain on top.
If you’ve never used Resolve before, you should be able to jump into the program now, even the free version, and be able to get great results in no time at all.
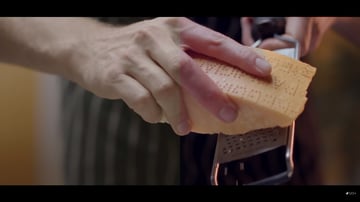
To finish up, here’s the before and after:


DaVinci Resolve Templates
Make colour grading in DaVinci Resolve a breeze, with one of our Envato Elements templates.
Film Colour Grading LUTs Pack V2
Try this pack of colour Grading LUTs for use in DaVinci Resolve plus other editing suites. Based on traditional styles, this set of colour LUTs means you can add professional colour editing to your footage in just a few clicks.
More Great DaVinci Resolve Resources
Find more DaVinci Resolve templates and tutorials with Envato Tuts+.
-
 How to Make a Promotional Video in DaVinci Resolve
-
3 Top Product Promo Templates for DaVinci Resolve
-
15 Top Transition Templates for DaVinci Resolve (3 Free)
-
3 Top Countdown Video Templates for DaVinci Resolve


About the Authors
Tom Graham created the video course that includes this lesson. Tom is a multi-skilled content creator with a background in commercial filmmaking. Marie Gardiner wrote the text version of this lesson.